
Installing sod in cold climates can be a challenging task, but with the right preparation and techniques, it is possible to achieve a lush, green lawn even in colder regions. This article will guide you through the essential steps for successful sod installation in cold climates, from selecting the right type of sod to preparing the soil and caring for your new lawn.
Choosing the Right Type of Sod
Selecting the appropriate type of sod is crucial for success in cold climates. Cool-season grasses are best suited for regions with harsh winters as they thrive in cooler temperatures and are more resilient to frost and snow. Popular cool-season grasses include Kentucky bluegrass, fine fescue, and perennial ryegrass.
Kentucky bluegrass is known for its lush, dark green color and fine texture. It is highly durable and can withstand cold temperatures, making it a popular choice for cold climates. Fine fescue, on the other hand, is highly adaptable and can grow well in shaded areas. Its fine blades and tolerance to low temperatures make it a great option for homeowners looking for a low-maintenance lawn. Perennial ryegrass is another excellent choice due to its rapid germination and establishment. It is often used in combination with other cool-season grasses to provide a dense, attractive lawn.
When choosing sod, consider your specific climate conditions and soil type. Consulting with local sod suppliers or agricultural extension offices can provide valuable insights into the best grass varieties for your region. Selecting the right sod will lay the foundation for a healthy and resilient lawn that can endure cold weather.
Preparing the Soil
Proper soil preparation is essential for the successful installation of sod in cold climates. Start by testing the soil to determine its pH and nutrient levels. Most cool-season grasses prefer a slightly acidic to neutral pH range (6.0-7.0). If your soil’s pH is outside this range, you may need to amend it with lime (to raise pH) or sulfur (to lower pH).
Next, clear the area of any existing vegetation, rocks, and debris. Use a tiller or garden fork to loosen the soil to a depth of about 4-6 inches. This step is crucial for promoting good root penetration and ensuring that the sod establishes well. Incorporate organic matter, such as compost or well-rotted manure, into the soil to improve its texture and fertility.
After tilling, level the soil using a rake. This helps create a smooth, even surface for the sod to be laid. Pay attention to drainage during this step; ensuring proper drainage will prevent water from pooling on the surface and reduce the risk of root rot and other water-related issues. Proper soil preparation sets the stage for successful sod installation and long-term lawn health.
Timing the Installation
Timing is critical when installing sod in cold climates. The best time to lay sod is during the cooler months of spring or early fall. During these periods, temperatures are mild, and the grass has enough time to establish its root system before the onset of extreme cold or heat.
Avoid installing sod during the peak of summer or winter. In summer, high temperatures can stress the newly laid sod and increase the need for watering. In winter, frozen ground and extreme cold can hinder root establishment and increase the risk of sod failure. By choosing the right time for installation, you can give your sod the best chance to thrive.
Monitor the weather forecast before installation. Aim to lay the sod during a period of stable, moderate weather without extreme fluctuations. Overcast days or light rain can be beneficial as they reduce water evaporation and help keep the sod moist during the critical establishment phase.
Laying the Sod
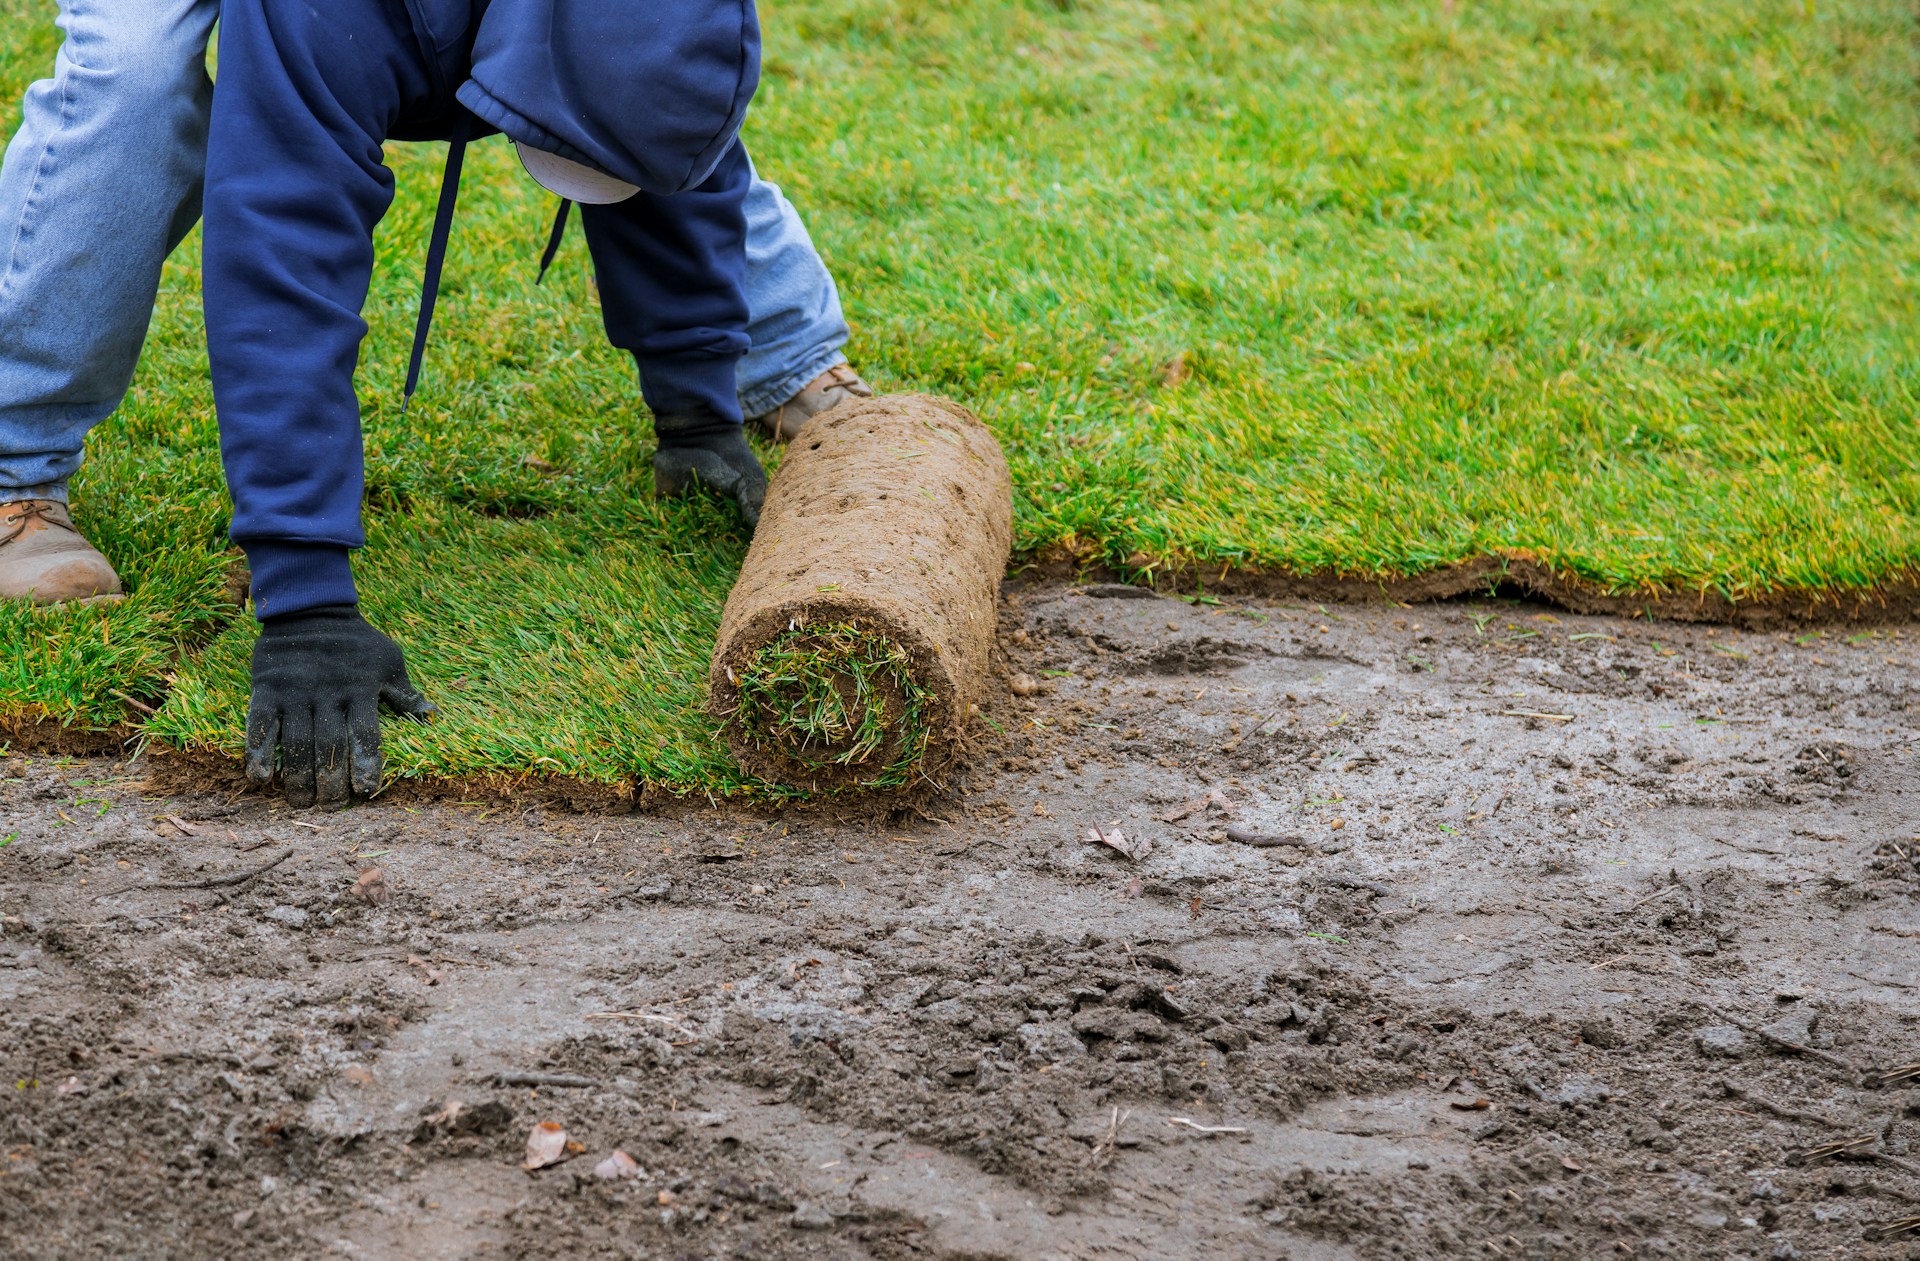
When laying sod, it’s important to work efficiently to prevent the roots from drying out. Start by laying the first row of sod along a straight edge, such as a driveway or sidewalk. This helps ensure that the rows are straight and evenly spaced. Place the sod pieces tightly together, staggering the seams like bricks to avoid creating long, continuous lines that can lead to erosion and uneven growth.
As you lay the sod, press down on the edges to ensure good contact with the soil beneath. This promotes better root penetration and reduces the risk of gaps forming between the sod pieces. Use a utility knife to trim any excess sod and fit it around obstacles such as trees, flower beds, and pathways.
Once all the sod is laid, use a lawn roller to press it firmly into the soil. This step eliminates air pockets and ensures good root-to-soil contact, which is crucial for the sod to establish properly. Water the sod immediately after installation to help it settle and begin the rooting process. Ensuring thorough and deep watering during this initial phase is critical for the successful establishment of the sod.
Watering the New Sod
Watering is one of the most critical aspects of sod installation, especially in cold climates. Newly laid sod needs to be kept consistently moist to encourage root growth and establishment. Immediately after installation, water the sod thoroughly, ensuring that the soil beneath is moist to a depth of at least 6 inches.
For the first two weeks, water the sod daily to keep the soil consistently moist. This frequent watering schedule is essential to prevent the roots from drying out and to promote deep root growth. Adjust the watering frequency based on weather conditions; reduce watering during rainy periods and increase it during dry spells.
After the initial two weeks, gradually reduce the frequency of watering to encourage the roots to grow deeper into the soil. Transition to watering every other day, and then to twice a week as the sod becomes established. Deep, infrequent watering encourages the development of a robust root system that can better withstand cold temperatures and dry conditions. Always water early in the morning to minimize water loss through evaporation and to allow the grass blades to dry before evening, reducing the risk of fungal diseases.
Fertilizing the Sod
Proper fertilization is key to promoting healthy growth and establishing your sod. About two to three weeks after installation, apply a balanced, slow-release fertilizer to provide the essential nutrients that the sod needs to grow strong roots and lush green blades. Follow the manufacturer’s instructions for application rates to avoid over-fertilizing, which can burn the grass and lead to other issues.
Choose a fertilizer with a higher potassium content, as potassium helps grass develop strong roots and enhances its ability to withstand cold stress. Nitrogen is also important for promoting green, leafy growth, but it should be applied in moderation to avoid excessive growth that can weaken the grass.
In late fall, before the first frost, apply a winterizing fertilizer to help the grass build up energy reserves for the winter. This type of fertilizer typically has a higher potassium content and lower nitrogen content, preparing the grass for the cold months ahead and ensuring that it remains healthy and green when spring arrives.
Protecting the Sod in Winter
As winter approaches, take steps to protect your sod from the harsh conditions. One effective method is to apply a layer of mulch or straw over the sod. This insulating layer helps to protect the roots from freezing temperatures and reduces the risk of frost heave, which can damage the sod and disrupt the soil.
Avoid excessive foot traffic on the sod during winter, as walking on frozen grass can cause significant damage to the blades and the underlying roots. Create designated pathways or use stepping stones to minimize traffic on the lawn and protect the grass from compaction and wear.
Monitor the weather throughout the winter and take action during extreme cold spells. If a severe frost or freeze is predicted, consider covering the sod with frost blankets or burlap to provide additional protection. These coverings can help to retain heat and prevent the grass from freezing, ensuring that your sod survives the winter in good condition.
Spring Recovery
Once the winter has passed, it’s important to help your sod recover and prepare for the growing season. Start by removing any protective coverings or mulch that you applied during the winter. Inspect the sod for any signs of damage, such as frost heave or winter kill, and address any issues promptly.
Begin watering the sod regularly as the temperatures start to rise. Early spring is the time to start your regular watering schedule, ensuring that the soil remains consistently moist to support new growth. Avoid overwatering, as this can lead to shallow root development and increase the risk of disease.
Fertilize the sod in early spring with a balanced fertilizer to encourage new growth and recovery. Aerate the soil if necessary to alleviate any compaction that may have occurred during the winter, and overseed any bare or thin spots to ensure a dense, healthy lawn. Regular mowing and maintenance throughout the spring will help your sod recover fully and thrive in the warmer months ahead.
Conclusion
Installing sod in cold climates requires careful planning and attention to detail. By choosing the right type of sod, preparing the soil properly, timing the installation correctly, and providing consistent care and protection, you can establish a healthy, green lawn that withstands the challenges of cold weather. With the right techniques and a little effort, you can enjoy a beautiful lawn even in the harshest climates.