
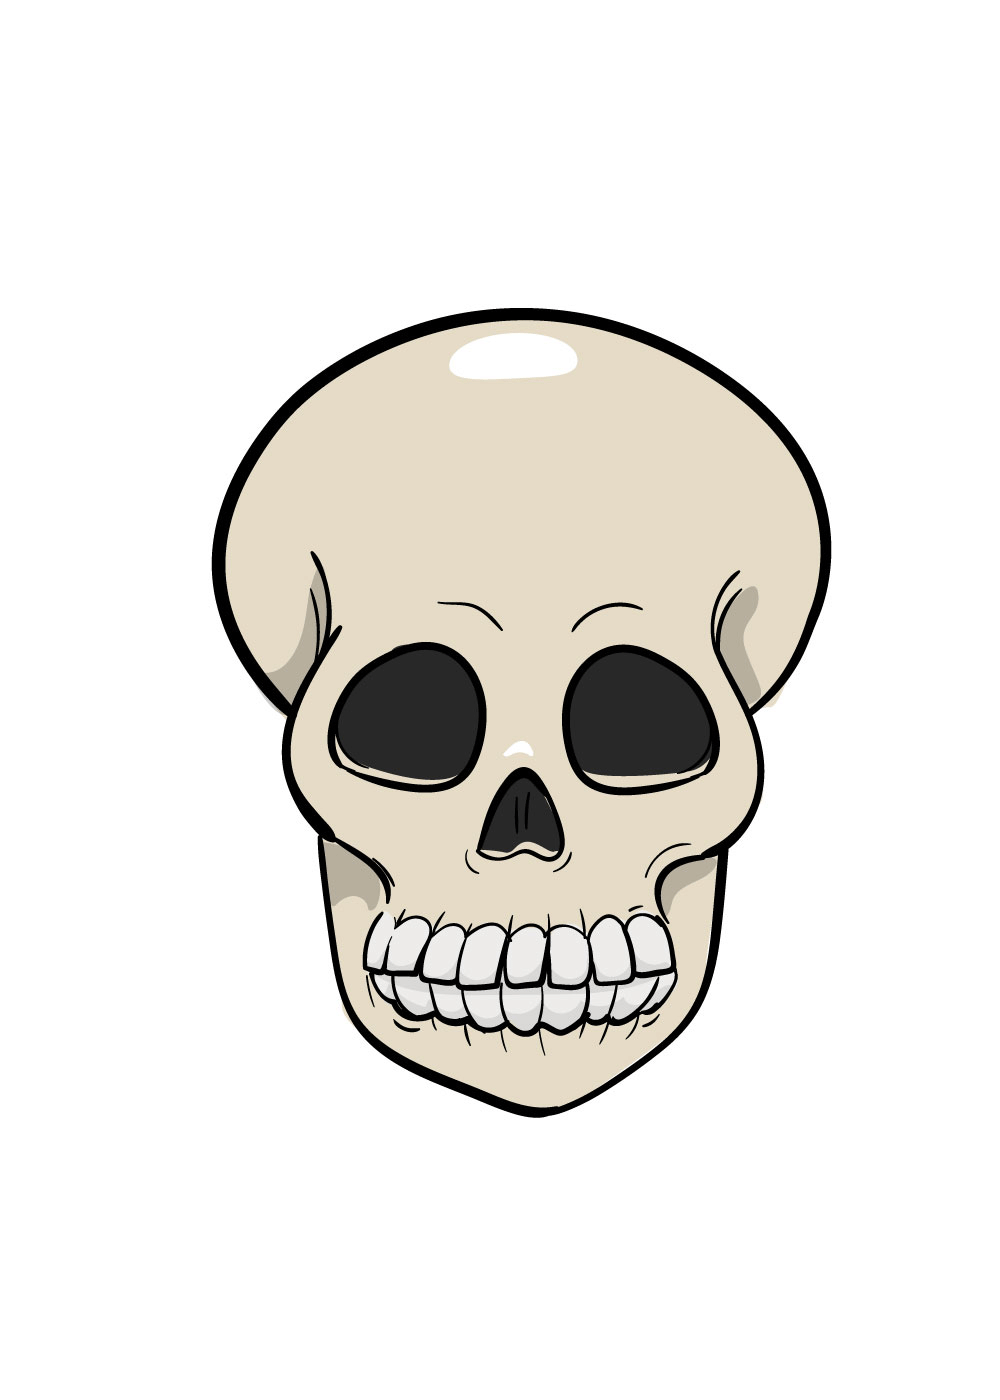
Skull Drawing Tutorial
The skull is a picture that we as a whole perceive, as it’s been seen in endless structures. From blood and gore films to science classes and, obviously, the way that we as a whole have one! There’s a sure interest behind the skull, and it’s likewise a significant image in many societies. It can mean risk, remain away or can likewise be utilized in numerous social celebrations all over the planet.
Visit the Children coloring pages for kids’ education.
Also perceived as the skull is, it can really be a seriously scary subject to draw! Assuming you might want to figure out how to draw one, you’ve come to the perfect locations for that We made this simple aide on the most proficient method to attract a skull only 8 simple tasks to ensure you’ll attract astonishing skulls no time!
Stage 1 – skull drawing
To get going this aide on the most proficient method to draw a skull, we will begin by drawing a square shape with a lighter pencil. We will involve a pencil for the present, as this square shape is to direct you and won’t be in the last picture. Then, you can attract an oval shape over the square shape.
Drawing an oval can be testing whenever done freehand, so you could utilize a drawing instrument like a compass to make it more straightforward! For the oval, you ought to involve a pencil for the time being too. The reference picture we have given will act as a decent visual aide for how it ought to look!
Stage 2 – Next, delete the pencil and attract the skull
For this subsequent stage, you ought to attract over your pencil oval pen, however just parts that aren’t inside the square shape. Whenever you’ve drawn that, you can then wipe out the entirety of the pencil. Ensure that you let the pen ink dry appropriately before you delete or you could smirch the ink.
Stage 3 – Next, attract the cheekbones
For stage 3 of figuring out how to draw a skull, we will attract the cheekbones. To do this, you can define in two exceptionally wavy boundaries that reflect each other, as you can find in the picture. On the off chance that you can persuade them to be around the very size and shape as each other then that sounds perfect!
Stage 4 – Presently attract the jaw of the skull
For the following stage of your skull drawing, we will include the jaw. This will reach out from underneath the cheekbones and into the shape they show up in for the reference picture. Involving the image as your aide, it’s ideal to try not to have the jaw be excessively lengthy or excessively short.
Stage 5 – Next you will include the principal eye attachment
For stage 5 in this aide on the most proficient method to draw a skull, we will add the main eye attachment. You can find in the picture that this ought to be round and level on the right-hand side and somewhat more pointed on the left.
Stage 6 – Presently attract the other eye attachment and nose opening
In this following stage, you can attract a perfect representation of the left eye attachment you attracted stage 5. The reference picture will be your aide on the position for the other eye attachment. When you have both eye attachments, you can attract the nose as it shows up in the image.
Stage 7 – Next you will include the teeth and last subtleties
For the last subtleties of your skull drawing, we have one of the trickier parts of your drawing. Drawing the teeth is a smidgen seriously testing, however we can make it more straightforward! I would utilize a pencil to define a bended boundary that seems to be a smiley face to ensure the teeth will be even.
You can then include the number of teeth that are in the reference picture and afterward utilize your pencil to define a few bended boundaries down onto the rule you drew. Whenever you have each of the teeth attracted, you can include more lines for the subtleties of the teeth as you can find in the reference picture.
Visit for free hd photos kids.
At the point when you’re content with the teeth, you ought to go over them with a pen and afterward delete your pencil lines. Whenever that is finished, there are only a couple of more line subtleties to add on to the skull, especially around the eyes and the cheeks.
Stage 8:
With those last subtleties attracted, your skull drawing is practically finished! The last step is a truly fun one, as you’ll fill your skull attracting for certain gorgeous varieties. There are loads of ways you could approach doing this, as well. We’ve shown one way you could variety it in, however you ought to allow your imagination to stream on this one!
You could go for a more sensible look, or you could involve a portion of your #1 splendid varieties for an astounding look. On the off chance that you’re feeling extra imaginative, you could attract a few examples to make it seem to be a sugar skull. You can likewise try different things with various fun workmanship mediums, for example, acrylic paints, watercolors, hued pens and pencils for a few unimaginable varieties!