
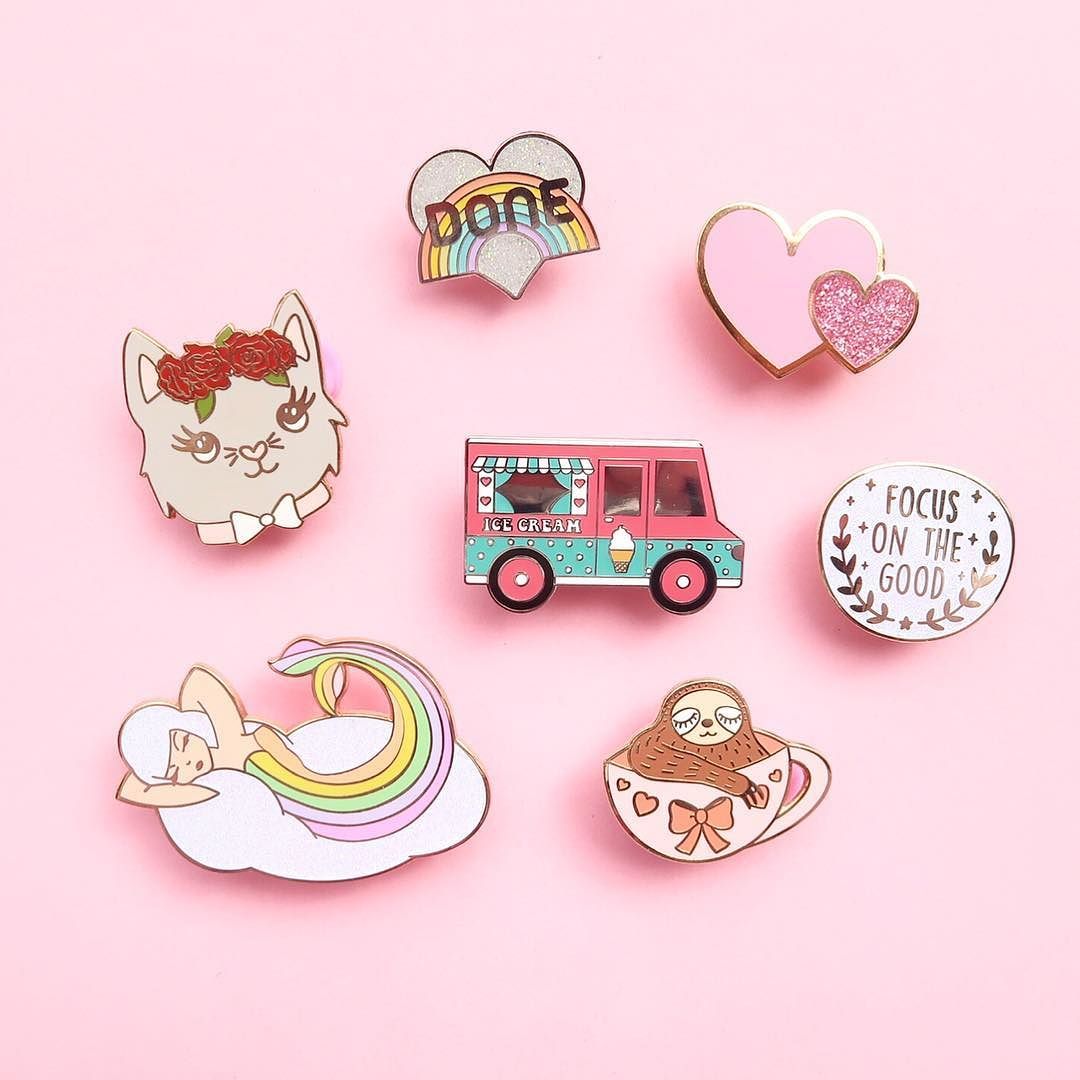
Enamel pins are usually known as lapel pins. They are tiny pins that are adorned at the lapel of a jacket. They can also be attached to purses, backpacks, or other items of clothing.
With the soaring trends of Instagram and Tumblr, hard enamel pins have become a popular way of expressing their identity.
A lot of artists use social media to promote and sell their pins. The best part is – you can even make these pins by yourself. That’s right!
All you need is a drool-worthy design, and the rest of the process of turning that design into a physical pin using a manufacturer is pretty much straightforward.
So, let us look into the process in detail, shall we?
Wait A Minute, What Are Enamel Pins?
Custom enamel badges are certain types of lapel pins that use enamel to make images and colours in a way that is different from other lapel pin manufacturing strategies. This is done by applying a layer of enamel over another layer of metal to create contrasting colours that show a level of depth. Enamel pins were originally made for decorative pins and jewellery. They were later adopted for badges and lapel pins. Now these pins are used in various types of industries and products. Enamel pins can come in a lot of sizes, shapes, and colours. They are mostly made up of two layers. The bottom layer is made of metal and the top layer is made of translucent enamel. Now that we are familiar with what enamel pins are, how about we look into how we can make them?
Steps To Make Enamel Pins All By Yourself
Step No. 1 – Complete The Design
Prior to begin manufacturing an actual enamel pin, you need to finalise the design. If you are confused as to which artwork to opt for, you can ask any reputable service provider to help you with this matter. Once you settle down on a design, take it as your cue to move on to the next step.
Step No. 2 – Dye Making And Stamping
After your design is all set, you need to create a dye, which is basically a stamp that is made from a hard metal. This dye is placed in a high-powered press. Moreover, it is used to stamp designs into other, slightly weaker metal pieces. The dye is used to push in all of the areas where the enamel paint is added later on. Thus, a design that is made up of outlines will be reversed to tailor a dye that has no raised outlines. Rather, the outlines will be grooved in the dye so that they remain unaffected throughout the stamping process.
After completion, the same dye is used to make all of the pins of that specific design. A lot of dyes can last for thousands of users. However, the pins that are stamped and their dyes must properly be checked to ensure that they are consistent, undamaged, and accurate. The dye is used to stamp the design into either metal disks or metal sheets, on the basis of the design. Bigger designs are usually stamped on the sheets and then cut from the sheet. Whereas, the smaller or medium-sized designs are stamped directly on the metal discs known as blanks. These blanks are removed, de-burred (all burrs or sharp edges are removed), and inspected to ensure top-notch quality prior to moving on.
Step No. 3 – Colour Filling
Next up, you need to perform colour filling. This is the process where you have to decide the type of your enamel pin. It can either be a soft enamel pin or even a hard enamel pin. Both of them are filled with enamel paint as per the preferred design. This paint comes in a huge variety of colour options, and you can also make unique colours by mixing different hues. Tailoring the pins with a dye method makes it way much easier to add finer details that the enamel paint can fill.
Hard enamel pins are filled to a 100 per cent depth. They are then heated to 400 degrees Fahrenheit to cure, making the paint durable and hard. Hard enamel pins are polished to give them a glossy finish and a harder feel. This gives them a higher-quality finish and more vibrant colours.
Step No. 4 – Quality Inspection
At the end of the enamel pin manufacturing process, you need to check your pins for any quality problems. Pick up all your pins one by one and inspect them for sharp edges, flaws, and any other potential issues. If everything turns out to be perfect, then you are good to go.
Step No. 5 – Enamel Pin Design Options
One of the main reasons that make these pins widely popular is because there are few limits on the designs. These pins are manufactured with a metal base, they are available in a huge variety of finishes that can make your pins strike out. Here are a bunch of options to keep in your mind throughout the design process.
1. Size – Enamel pins can be tailored to almost any size. The final size of your design is restricted by the size of the matching blanks and dye. A lot of pins are about one to three inches in size, even though other options are available. Changing the size of any pin design is a unique way to make it strike out from other options.
2. Shape – Because enamel pins are made up of metals, you can cut them into any shape. As long as your bins are not thin enough or small enough to be flexible, the design is possible. With a creative design, you can use the overall shape of the pin as a significant feature to mark it different from the others. This also includes any cut-outs or removed sections within the design of your pin. As long as the pin is designed to be sound structurally, it can be cut out to give it a more dimensional presentation.
3. Metal Plating And Coatings – While the hard enamel pin badges are stamped from aluminium blanks, they can be coated to look like any other type of metal or they can be metal plated. Brass, nickel, gold, etc., are some of the popular plating options. However, a lot of people also use black spray as an affordable coating option. Each plating or coating option has a unique set of features that you can use to enhance the overall design of your pins.
4. Paint Colours – You can use any colour of enamel paint, as they come in a huge variety of colour options. This will allow you to use colour as per your liking. A lot of other pin types have limited colour options, thus, they give you a very small palette to make your designs work. Enamel pins have a lot of options from which you can choose from. Thus, it gives you a lot of ways to make your pins distinct.
Summing It All Up
Hard enamel pin badges are not merely visually striking but they are extremely long-lasting and durable. They make great collectables, accessories for personal expression, promotional items, and a lot more. So, the next time you adorn a hard enamel pin badge, you will have much better knowledge of the complex process that goes into tailoring it. So, give it a try yourself, and we are sure you are going to make amazing pins by following the tips given above.